Different people have different requirements while building their dream homes. 3D exterior rendering is becoming extremely popular nowadays in home design. Every year, a growing number of architects, real estate developers, and agents continue to use computer graphics in their work. An effective uniform workflow procedure has been developed in every exterior 3D rendering project to make it much simpler for the clients. We think it is essential for the clients to understand what kinds of tentative findings they will get and how to provide input to the project management. This would ensure that the whole project runs quickly and efficiently, with the least amount of time spent delivering the best outcomes possible. So, let’s look at the three most critical phases in any 3D exterior rendering project:
1. Grayscale renders for getting approval:
The first step is to start working on grayscale or “clay” renders as soon as a brief is received. Some pictures have all of the significant elements, such as the structure itself and its surroundings. However, such images do not yet have any colours or textures. In an exterior 3D modelling project, the customer tests the camera angles, nearby things, and the building geometry at this level of the workflow process. Then they either advise the project team to go ahead or inquire for improvements if appropriate. At this point, the 3D artists may also have some additional viewpoints. For grayscale renders, there can be 1-2 rounds of revisions in total. The project team then goes on to the next phase after those have been accepted.
2. Getting materials, textures, and other elements approved:
The exterior 3D rendering project team produces fully coloured and textured CG images in 3k resolution at this stage in the workflow process. Here, the 3D artists will await the customer’s feedback on lighting, textures, and atmosphere features. Men, houses, greenery, and other objects can be included in the above. At this stage of the rendering process, there are typically two to three rounds of minor corrections.
3. The final renders are delivered:
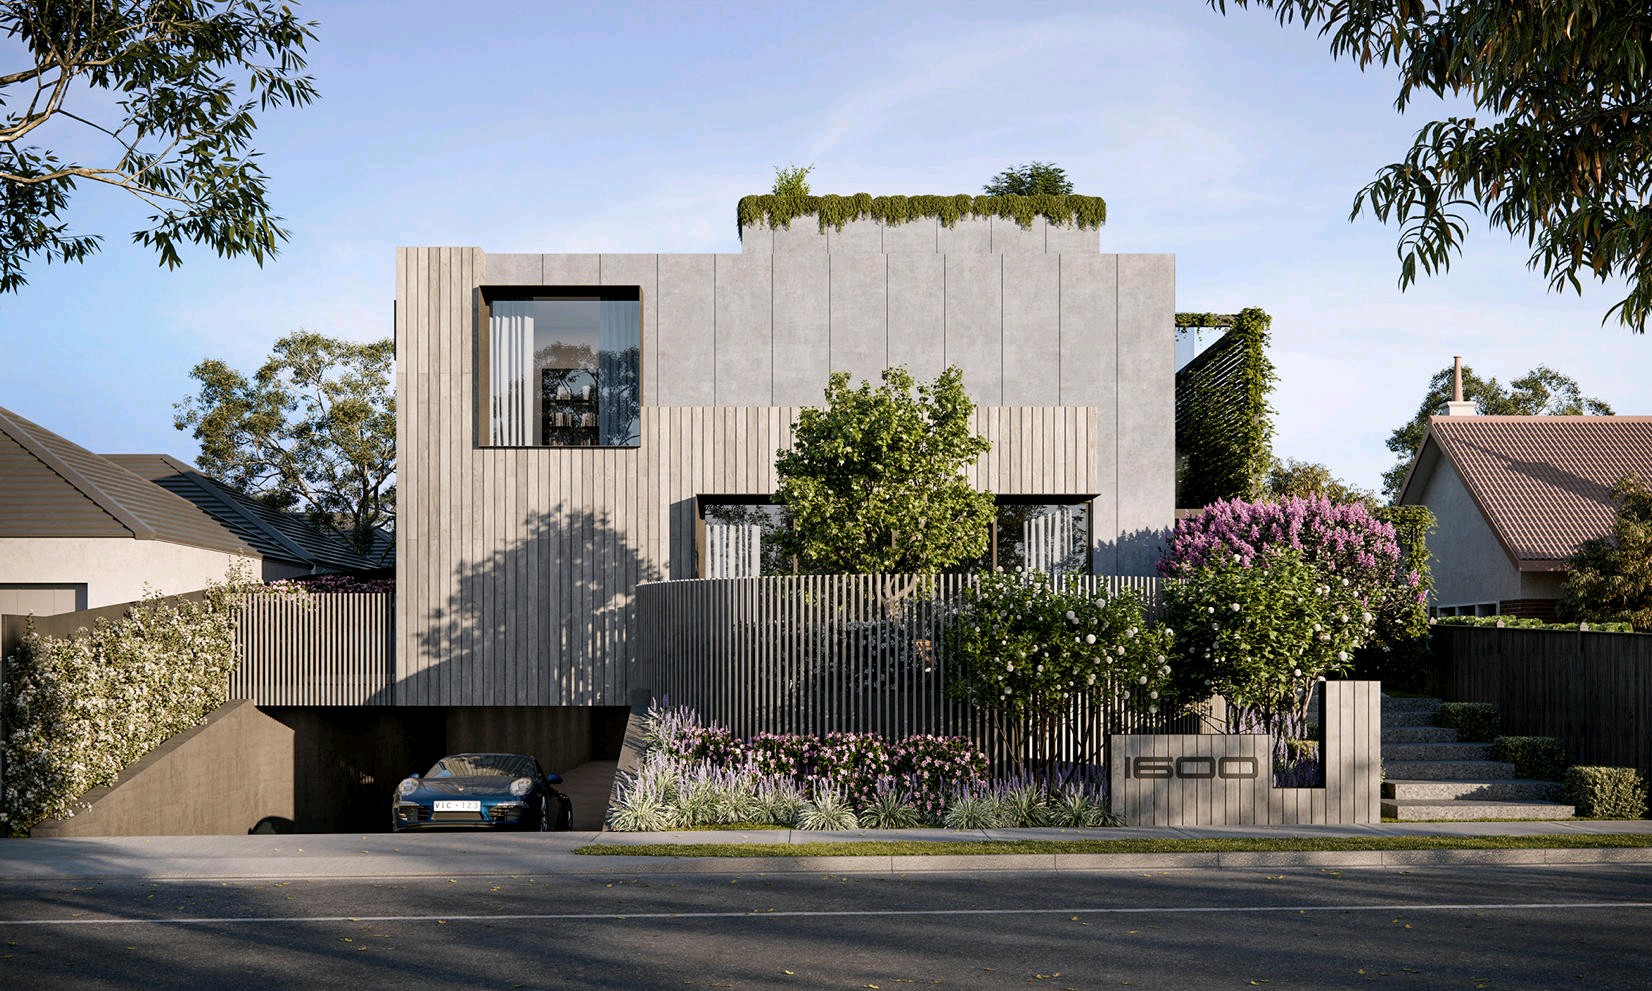
The customer gets the final graphics that have already been through post-production after the exterior 3D rendering project. It’s the final step in the workflow, in which 3D designers use Photoshop to tweak the lighting, contrast, and colour balance of CG images and make them appear more natural. The studio’s picture resolution quality is 4k, which is suitable for printing in A1 format. However, if necessary, the consumer may choose a lower or higher resolution.
The project team will be delighted to gain input from the customer on the finished graphics and the general process after the work is finished. So, don’t be shy! It encourages us to develop our services so that you have a more substantial project experience in the future.
__
At our 3D Rendering Studio, we bring ideas to life through stunning visualizations and animations. Our team of skilled artists and designers use the latest software and technologies to create high-quality 3D renders for a range of industries, including architecture, 3D Interior Rendering, Exterior Rendering, Product Rendering, and more.
From concept development to final delivery, we work closely with our clients to ensure that their vision is fully realized and beautifully presented. Whether you’re looking to showcase a new product or bring your architectural designs to life, we’re here to help you make an impact with stunning 3D visuals.
Check out our work portfolio here;
https://www.nectarrenderingstudio.com/portfolio.html
____
Searching for impeccable 3D rendering Company? Look no further! 🎯
We specialize in turning your visions into awe-inspiring visual masterpieces. Whether you’re an architect, interior designer, real estate professional, or a business owner seeking to showcase your products, our top-tier 3D rendering services are tailored to meet your unique needs.